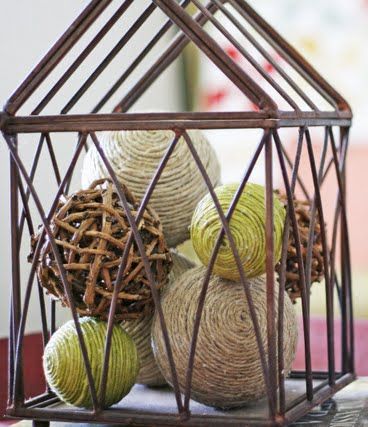
So, I pin. Do you pin? It is oh so trendy! :) Pintrest is a great place to find inspiration for DIY projects. Many pins link back to instructions for the project. While browsing I found these:
I have seen similar decorative items as center pieces in stores such as Pottery Barn. I love the rustic look of the twine. The month was October, but I was already thinking about the Christmas season. The Hubby and I had already decided to have a low key rustic Christmas decor (to match our living room). I had also decided to make most of our ornaments in an effort to save money. See where this is going?
For this project you need:
- Hemp/twine (color and width is up to you!)
- Hot glue gun
- Round Christmas ornaments
- Start with a "dab" of hot glue at the top of the ornament. Hold the beginning of the hemp until dry (careful not to burn yourself!). Slowly start winding the hemp/twine around the ornament adding dabs of glue every so often.
As you get to the center of the ornament you will need to use more hot glue. After the third or forth ornament I had a glue system down.
Here is the finished product! If you want to add some color see the next step.
2. Select your preference of spray paint. I used:
I used an empty egg carton to assist me in the painting process.
Let the paint dry, grab an ornament hook, and Ta-Da!
I also wrapped a star ornament.
Semi-finished decorated tree: I hope you are inspired to do a few of your own DIY ornaments! This project is deemed a SUCCESS!


No comments:
Post a Comment